Imagine waking up to the irresistible aroma of freshly baked bread, a golden-brown crust, and a soft, airy interior. For those embracing a gluten-free lifestyle, this dream is now a delicious reality, thanks to the humble yet mighty gluten-free bread maker machine. No more dense, crumbly disappointments or endless trips to specialty stores; with the right machine, you’re just a few ingredients away from homemade perfection.
The Unique World of Gluten-Free Baking
Baking gluten-free bread is a different beast entirely from its wheat-based cousin. Traditional bread relies on gluten, a protein network that gives dough its elasticity, allows it to trap gases, and ultimately creates that satisfying chew and airy rise. Without gluten, we face unique challenges: doughs are often wetter, more batter-like, and lack the inherent structure to rise and hold their shape. The absence of gluten can lead to dense, crumbly, or gummy textures if not handled correctly. This is where a specialized bread maker becomes your best ally, taking the guesswork out of these delicate chemical reactions.
A Brief History: Bread Makers Evolving for Every Baker
Bread makers have been a kitchen staple for decades, simplifying the art of bread making. However, early models weren’t designed to handle the nuances of gluten-free dough. As awareness of celiac disease and gluten sensitivity grew, manufacturers adapted. Today’s gluten-free bread maker machines come equipped with specialized programs that account for the longer mixing times, different rising temperatures, and precise baking cycles gluten-free doughs require, transforming a complex process into a simple press of a button.
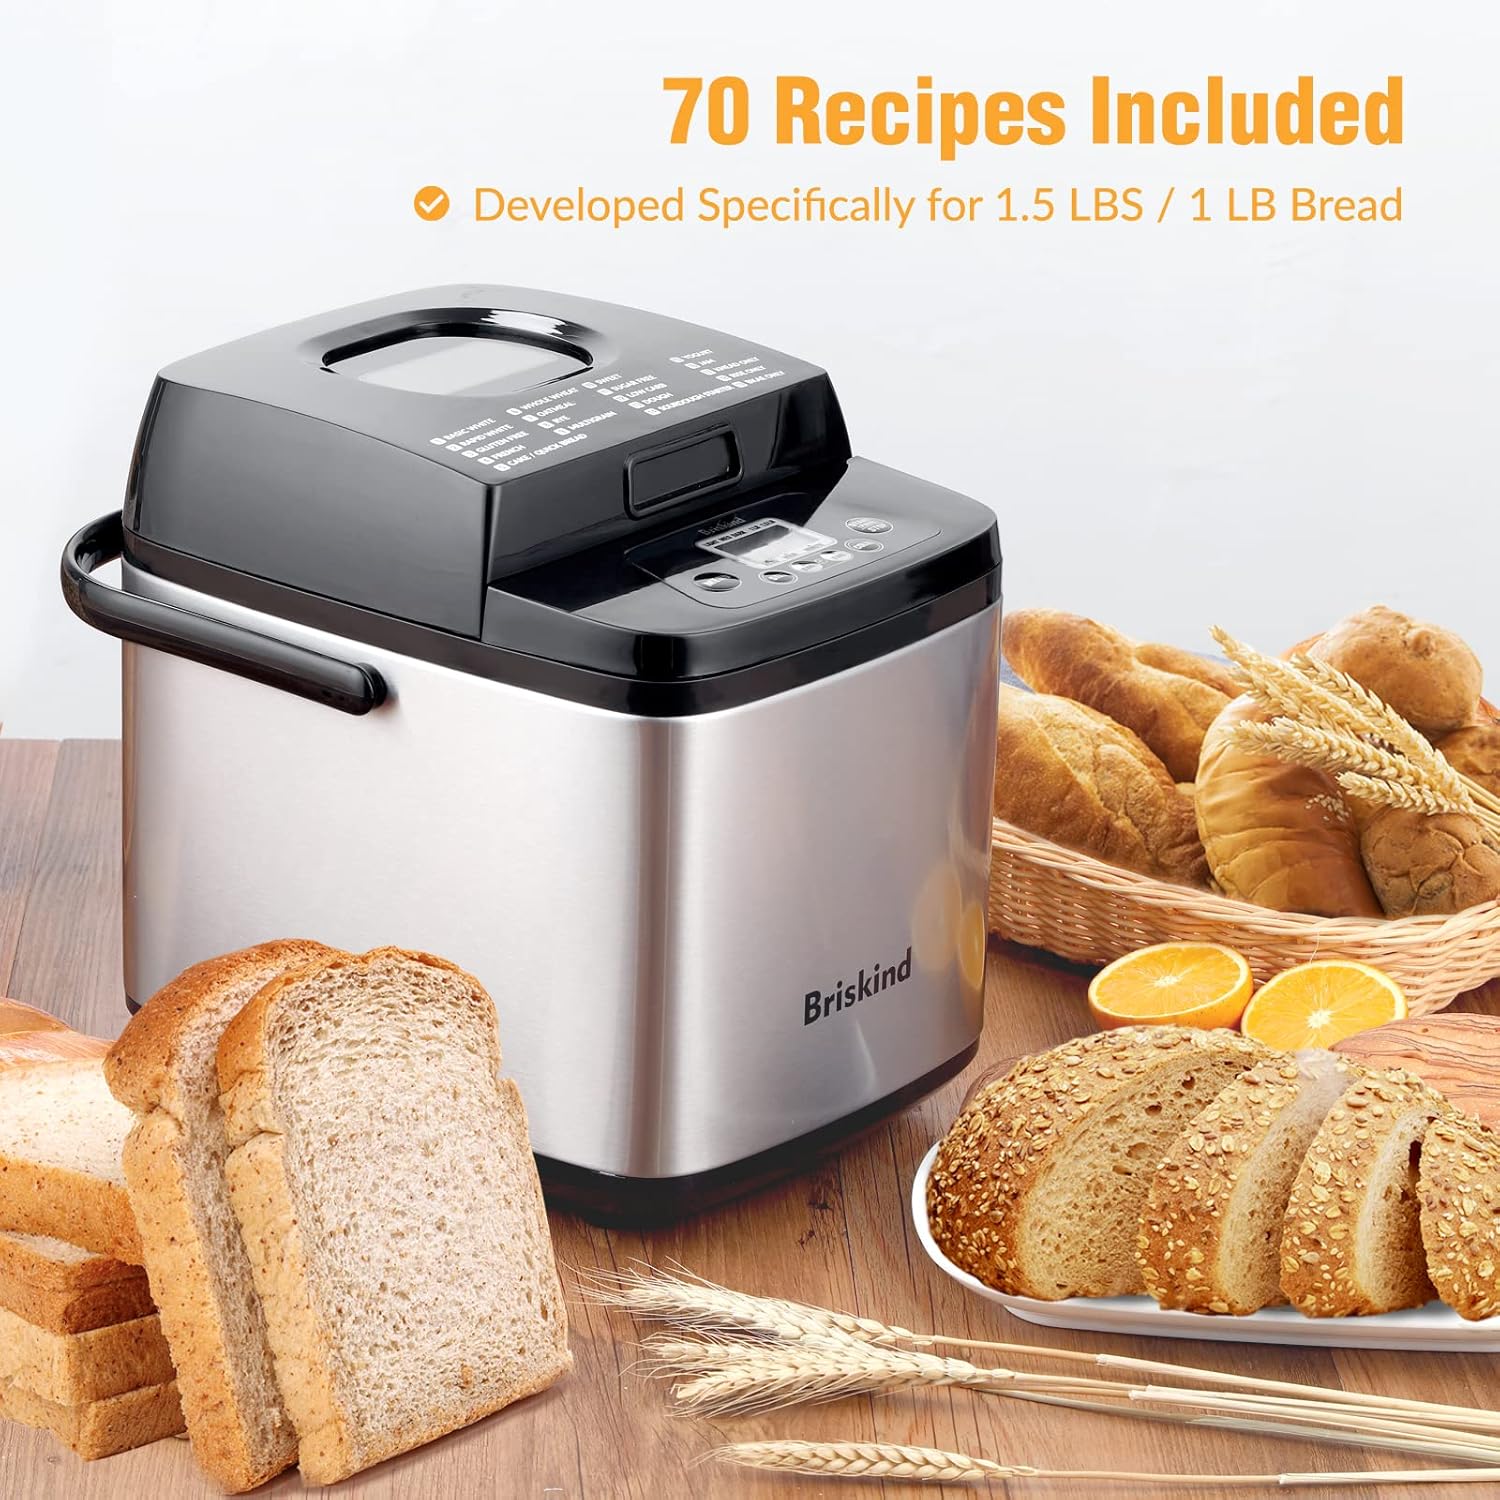
What Makes a Great Gluten-Free Bread Maker Machine?
Choosing the right machine can make all the difference in your gluten-free baking journey. Here’s what to look for:
Dedicated Gluten-Free Settings
This is paramount. A specific “gluten-free” cycle on your bread maker isn’t just a fancy label; it’s a precisely calibrated program that accounts for the distinct properties of gluten-free dough. It ensures longer mixing to develop structure from starches and gums, a single, controlled rise (avoiding the “punch-down” common in wheat bread cycles), and an optimized baking temperature and duration to prevent gumminess.
Motor Power and Kneading Blades
Gluten-free dough can be thick and sticky, requiring a robust motor and strong kneading paddles to mix thoroughly without stalling. Some high-end machines feature dual kneading blades, which provide superior mixing for denser batters, resulting in a more uniform crumb and better texture.
Pan Shape and Size
While some machines offer vertical loaf pans, many experienced gluten-free bakers often prefer models with a horizontal loaf pan. These can sometimes produce a more traditionally shaped loaf and allow for better heat distribution. Aim for at least a 2-pound capacity to give your dough ample room to mix and rise effectively.
Customizable Programs
The ability to customize mixing, rising, and baking times is a game-changer. This flexibility allows you to fine-tune cycles for various gluten-free flour blends and recipes, giving you ultimate control over your loaf’s texture and crust.
Other Thoughtful Features
Look for features like a non-stick pan, which is crucial as gluten-free dough can be notoriously sticky. An audible alert for adding mix-ins like nuts or seeds, a “keep warm” function, and a viewing window can also enhance your baking experience.
Essential Ingredients and Tools for Gluten-Free Success
Creating delicious gluten-free bread starts with the right ingredients and precise measurements.
The Foundation: Gluten-Free Flour Blends
Forget single-source flours; the secret to great gluten-free bread lies in a carefully balanced blend of different flours and starches. Common components include brown rice flour, white rice flour, tapioca starch, potato starch, and sorghum flour. These work in harmony to mimic the structure and texture of wheat flour. Always use a high-quality blend specifically designed for yeast baking.
The Binders: Xanthan Gum and Psyllium Husk
Since there’s no gluten, binders like xanthan gum, guar gum, or psyllium husk powder are critical. They act as the “glue,” providing elasticity and preventing your bread from crumbling apart. Typically, about 1 teaspoon of xanthan gum per cup of flour blend is a good starting point, but always follow your recipe.
Yeast, Liquids, and Fats
Active dry yeast or rapid-rise yeast is essential for leavening. Always ensure your yeast is fresh and gluten-free certified. For liquids, purified water at the right temperature (95-110°F or 35-43°C) is crucial, as chlorine in tap water can inhibit yeast activity. Eggs add moisture and structure, while oils or melted butter contribute to tenderness and flavor. A touch of acid, like cider vinegar or cream of tartar, can also aid in rise and texture.
Precision Tools
Gluten-free baking demands accuracy. A digital kitchen scale for weighing ingredients (especially flour) and precise measuring spoons and cups are your best friends.
Step-by-Step Guide: Making Gluten-Free Bread with Your Machine
Ready to bake? Here’s a general workflow to guide you to a perfect loaf:
- Prep Your Pan: Lightly grease your bread machine pan and kneading paddle(s) to prevent sticking.
- Order Matters: Most recipes recommend adding wet ingredients first (water, milk, eggs, oil, vinegar), followed by dry ingredients (flour blend, sugar, salt, binders). Create a small well in the dry ingredients for the yeast, ensuring it doesn’t directly touch the liquid until mixing begins, as this can prematurely activate or kill it. [cite: 3, 4 (from recipes)]
- Select the Cycle: Choose your machine’s dedicated “gluten-free” setting. If your machine lacks one, use a “basic,” “rapid rise,” or “homemade” cycle that avoids a second “punch-down” or allows for custom programming. A good custom cycle might involve a 20-minute mix, a 1-hour rise, no knockdown, and a 60-minute bake.
- Start the Machine: Close the lid and let the magic happen! Resist the urge to peek during the cycle, as temperature fluctuations can affect the rise.
- Scrape Down Sides (Optional but Recommended): Sometimes, especially with stickier GF batters, dry spots can cling to the sides. After the initial mixing, you can briefly open the lid to scrape down the sides with a silicone spatula, then quickly close it.
- Post-Bake Care: Once the cycle finishes, carefully remove the bread pan. Allow the loaf to cool completely on a wire rack for at least 1-2 hours before slicing. This resting period is critical for the bread’s internal structure to set and prevents a gummy texture. Cutting into hot gluten-free bread is a common culprit for dense, sticky slices.
Tips and Tricks for Perfect Gluten-Free Loaves
Even with a dedicated machine, a few insider tips can elevate your gluten-free bread from good to truly exceptional.
Troubleshooting Common Issues
- Sticky/Gummy Texture: This often means too much liquid or not enough baking time. Try adding a little more flour next time or allowing the loaf to bake longer, perhaps with an extra 10-15 minutes in a preheated oven (around 350°F or 175°C) if your machine allows you to remove the pan.
- Dense or Did Not Rise: Check your yeast’s expiry date, ensure your water temperature is ideal, and use purified water. If your dough is too dry, it won’t rise well; add a touch more liquid gradually.
- Crust Not Golden Enough: Some bread makers, especially those with lighter crust settings, might leave the top a bit pale. You can finish the loaf in a preheated 400°F (200°C) oven for about 10 minutes to achieve a beautifully golden top crust.
Experiment with Recipes
Don’t be afraid to try different gluten-free bread machine recipes. There’s a vast world of options, from basic white loaves to hearty whole grain, oat, or even sweet Hawaiian bread variations. Each flour blend behaves slightly differently, so finding your favorites is part of the fun.
Keep it Clean
For those with celiac disease, cross-contamination is a serious concern. If your bread maker is also used for gluten-containing breads, ensure it is meticulously cleaned, paying attention to any crevices where gluten particles might hide. Ideally, dedicate your machine solely to gluten-free baking.
The Rewarding Benefits of Homemade Gluten-Free Bread
Investing in a gluten-free bread maker machine brings a wealth of advantages that go beyond just a delicious meal.
Unbeatable Taste and Freshness
There’s nothing quite like the taste and texture of freshly baked bread. Homemade gluten-free loaves are often superior in flavor and moistness to store-bought options, which can sometimes be dry or bland. You control the ingredients, ensuring the freshest, highest-quality components go into every loaf. [cite: 1, 2 (from benefits)]
Health and Dietary Control
For individuals managing celiac disease or gluten sensitivity, a bread maker provides complete control over ingredients, preventing accidental gluten exposure and allowing for customized nutritional profiles. You can avoid unnecessary additives, preservatives, and excess sugars often found in commercially produced breads. [cite: 1 (from benefits)]
Significant Cost Savings
While the initial investment in a bread maker might seem substantial, it quickly pays for itself. Gluten-free specialty breads are notoriously expensive. Making your own at home can lead to considerable savings over time, especially if bread is a staple in your diet. [cite: 1 (from benefits)]
Pure Convenience
The “set it and forget it” nature of a bread machine is truly invaluable. Simply add ingredients, select a program, and let the machine do the hard work. You can even use delay timers to have a warm loaf ready for breakfast or dinner.
Enjoying Your Homemade Gluten-Free Bread
Once your perfect loaf has cooled, the possibilities are endless! Slice it thinly for sandwiches, toast it for a crispy breakfast, or serve it alongside your favorite soups and stews.
Storing Your Loaf
Gluten-free bread tends to dry out faster than wheat bread. Once completely cool, store your loaf in an airtight bread bag at room temperature for 3-5 days. For longer storage, slice the bread and freeze it in freezer bags. You can then grab individual slices as needed, thawing them at room temperature or toasting directly from frozen.
Pairing Perfection
A slice of homemade gluten-free bread is wonderful with almost anything. Consider it with avocado toast, a smear of your favorite nut butter, or as the base for a gourmet grilled cheese.
“A gluten-free bread maker isn’t just an appliance; it’s a gateway to culinary freedom,” says Chef Evelyn Reed, a renowned gluten-free baking expert. “It empowers you to create nourishing, delicious bread that perfectly suits your dietary needs, without sacrificing flavor or texture. The joy of a warm, homemade loaf is truly unmatched.”
Frequently Asked Questions About Gluten-Free Bread Maker Machines
Why does gluten-free bread often turn out gummy or dense?
Gluten-free bread can become gummy or dense due to insufficient baking time, too much liquid in the dough, or not allowing the loaf to cool completely before slicing. Gluten-free flours also lack the elastic structure that prevents this issue in traditional bread.
Can I use regular flour in a gluten-free bread maker?
While technically possible, it’s generally not recommended. A gluten-free bread maker’s cycles are optimized for gluten-free dough, which behaves differently from wheat dough. Using regular flour might not yield optimal results, as the kneading and rising times would be incorrect.
How do I prevent my gluten-free bread from sticking to the pan?
Always lightly grease your bread machine pan and kneading paddle(s) before adding ingredients. Using a good quality non-stick pan is also crucial, as gluten-free dough tends to be stickier.
Is it cheaper to make gluten-free bread at home?
Absolutely! While gluten-free flour blends can be more expensive than wheat flour, consistently making your own bread at home is significantly more cost-effective than repeatedly buying pre-packaged gluten-free loaves from the store. [cite: 1 (from benefits)]
What’s the ideal water temperature for yeast in gluten-free recipes?
The ideal water temperature for activating yeast is between 95°F and 110°F (35°C and 43°C). Water that’s too cold will slow down activation, while water that’s too hot can kill the yeast, preventing your bread from rising.
Can I add nuts, seeds, or dried fruit to my gluten-free bread?
Yes, you can! Many bread makers have an automatic dispenser for mix-ins, or you can add them manually during the designated “mix-in” alert in your machine’s cycle.
How long does homemade gluten-free bread stay fresh?
Once cooled, homemade gluten-free bread typically stays fresh for 3-5 days when stored in an airtight container or bag at room temperature. For longer storage, it can be sliced and frozen for 2-3 months.
Your Journey to Homemade Gluten-Free Delights
The gluten-free bread maker machine is more than just an appliance; it’s a catalyst for joy in the kitchen. It removes the stress and uncertainty from gluten-free baking, opening up a world of fresh, delicious possibilities. By understanding the unique properties of gluten-free dough, selecting a machine with the right features, and following a few simple tips, you’ll be baking perfect loaves that rival any bakery. So, go ahead, gather your ingredients, set your machine, and prepare to savor the incredible taste of homemade gluten-free bread. Your taste buds will thank you!