For those navigating a gluten-free diet, the joy of a warm, freshly baked loaf can often feel like a distant memory. Store-bought options, while convenient, frequently fall short on texture, flavor, and freshness. This is where the magic of a Gluten Free Bread Maker truly shines, transforming your kitchen into a personal bakery and bringing back the simple pleasure of homemade bread. At [Tên Thương Hiệu], we believe everyone deserves delicious, safe bread, and understanding your bread maker is the first step to unlocking that culinary freedom.
The Evolution of Bread Making: From Ancient Grains to Modern GF Loaves
The journey of bread itself is as old as civilization, evolving from simple stone-ground flour and water to the complex, diverse loaves we enjoy today. For centuries, bread making was a labor-intensive process, involving hours of kneading, rising, and baking. The invention of the automated bread maker revolutionized home baking, offering unparalleled convenience by handling every step from mixing to baking with just the press of a button.
Initially, these machines were designed for traditional wheat-based breads, relying on gluten to provide structure and elasticity. However, with the rising awareness of gluten sensitivities and celiac disease, the demand for reliable gluten-free solutions surged. Manufacturers responded by developing specialized gluten free bread maker settings and machines. These innovations recognized that gluten-free dough behaves differently – it’s often more like a batter, requires less kneading, and benefits from a single, carefully controlled rise. This adaptation has made it possible for millions to enjoy safe, delicious, and perfectly textured gluten-free bread right in their own homes.
Why a Gluten-Free Bread Maker is a Game-Changer for Your Kitchen
Investing in a gluten free bread maker offers a multitude of benefits, particularly for individuals committed to a gluten-free lifestyle. It’s more than just a kitchen appliance; it’s a gateway to culinary independence and enhanced well-being.
- Effortless Convenience: The primary appeal is the sheer ease of use. Simply add your ingredients, select the appropriate setting, and let the machine do the heavy lifting—mixing, kneading (or rather, thoroughly combining), rising, and baking. This “set it and forget it” approach saves you valuable time and effort, making fresh bread accessible even on busy days.
- Complete Ingredient Control: When you bake at home, you know exactly what goes into your bread. This is invaluable for those with specific dietary needs beyond gluten, such as dairy-free, egg-free, or sugar-conscious diets. You can avoid artificial preservatives, unnecessary additives, and high-fructose corn syrup often found in commercial loaves.
- Unmatched Freshness and Flavor: Nothing compares to the aroma and taste of bread fresh from the oven. Homemade gluten-free bread boasts a superior texture and richer flavor profile than most store-bought alternatives, which can often be dense, dry, or crumbly. With your own bread maker, every slice is a treat.
- Cost-Effectiveness: While initial ingredient costs might seem comparable to a single store-bought loaf, making your own gluten-free bread consistently can lead to significant savings over time. High-quality gluten-free bread from specialty stores can be quite expensive, making home baking a smart economic choice.
- Eliminates Cross-Contamination Risk: For individuals with celiac disease or severe gluten intolerance, cross-contamination is a serious concern. Dedicating a bread maker solely to gluten-free baking ensures that your bread is free from any inadvertent gluten exposure, providing peace of mind. As Dr. Elara Vance, a renowned food science researcher specializing in alternative grain baking, often states, “For true peace of mind in gluten-free living, controlling your culinary environment, right down to your bread maker, is paramount.”
Choosing Your Perfect Partner: What to Look for in a Gluten-Free Bread Maker
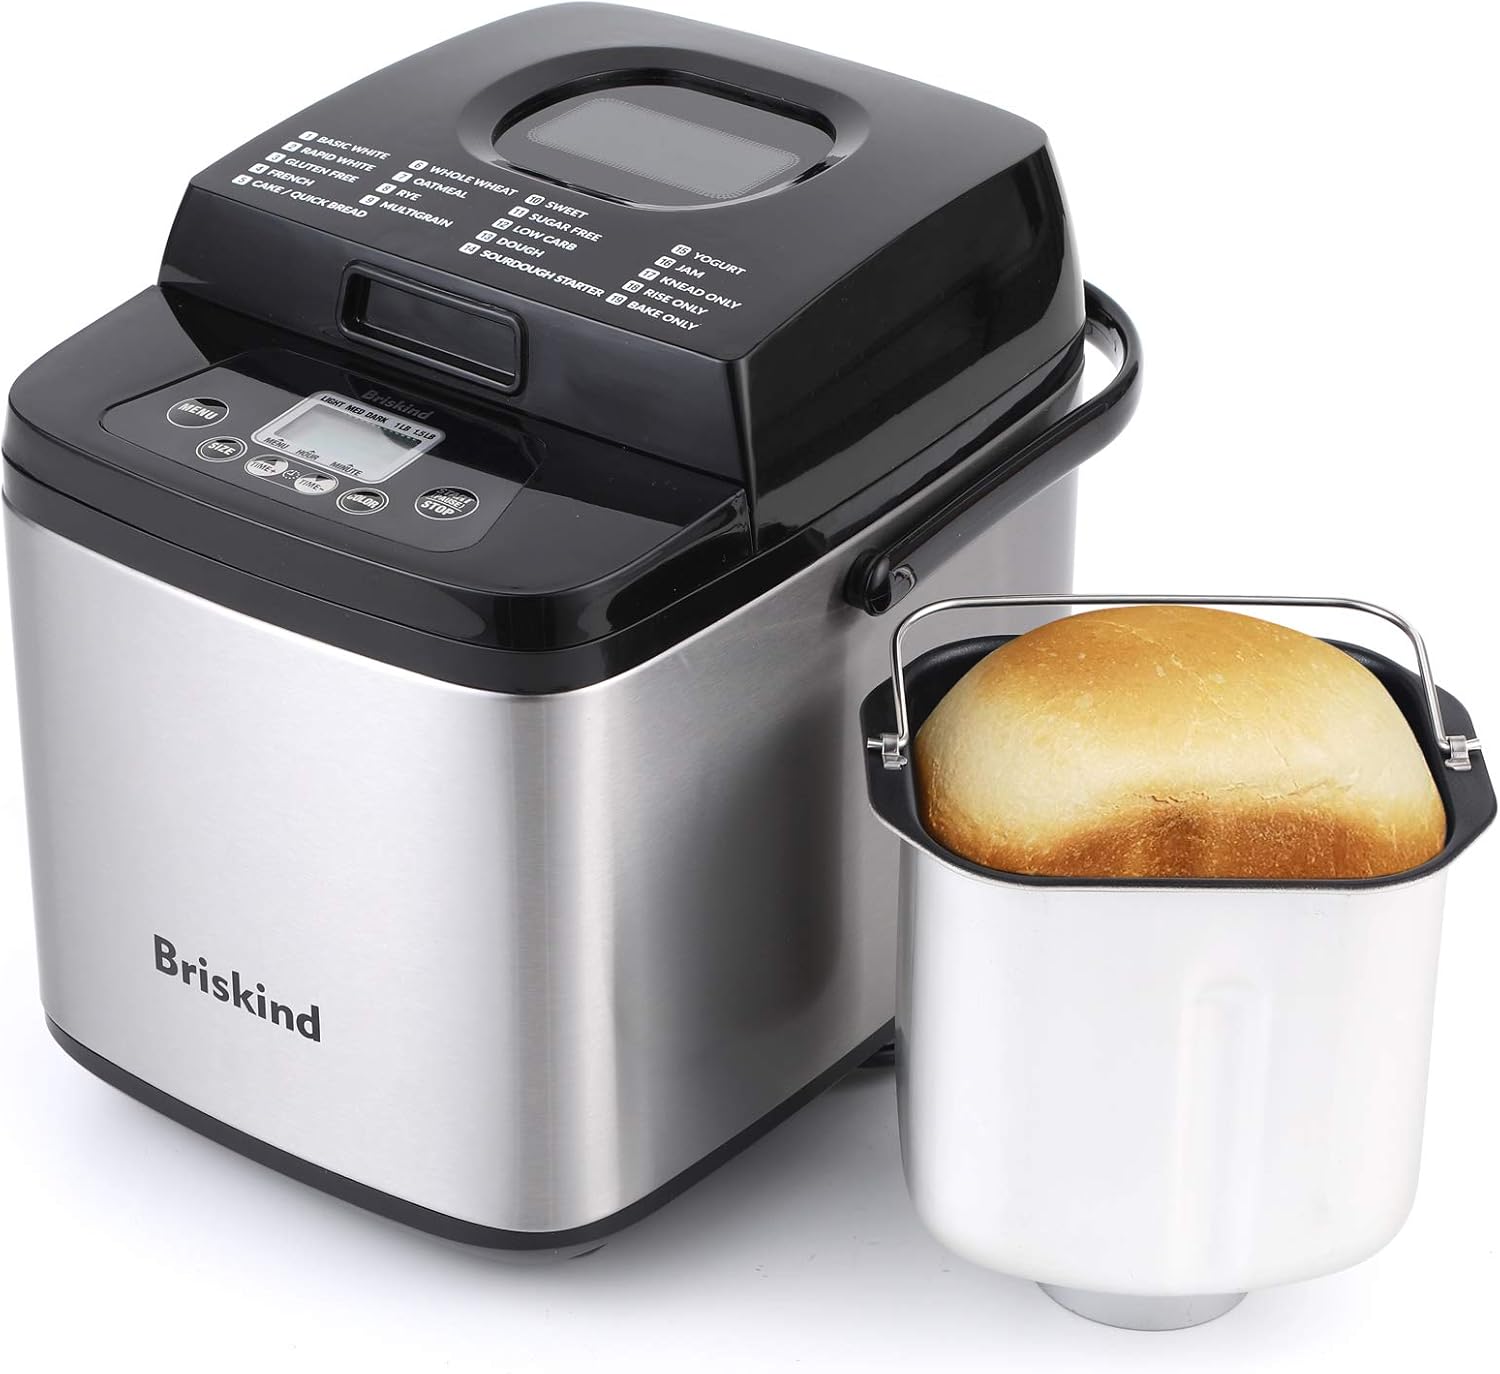
Selecting the ideal gluten free bread maker can seem daunting with the array of options available. However, focusing on a few key features will ensure you pick a machine that truly meets your needs for exceptional gluten-free baking.
- Dedicated Gluten-Free Setting: This is often the most critical feature. A specialized gluten-free program is designed to accommodate the unique properties of gluten-free dough, which requires less kneading and typically a single, longer rise cycle. Machines like certain Panasonic models have been praised for their performance on GF settings.
- Programmable Cycles: For ultimate flexibility, look for a machine that allows you to customize knead, rise, and bake times. This empowers you to fine-tune recipes and achieve perfect results, especially as you experiment with different flour blends. Many experienced gluten-free bakers find a “homemade” or custom setting invaluable.
- Loaf Size and Shape: Bread makers come in various capacities, typically offering 1.0, 1.5, or 2.0-pound loaf options. Consider your household size and consumption habits. Some machines produce vertical loaves, while others offer more traditional horizontal shapes.
- Crust Control: The ability to select light, medium, or dark crust settings ensures your bread is baked precisely to your preference.
- Automatic Dispensers: For those who love to add nuts, seeds, or dried fruits to their loaves, an automatic dispenser that releases these ingredients at the optimal time during the mixing cycle is a convenient feature.
- Paddle Design and Removal: Most bread makers have one or two kneading paddles. While double paddles can aid in more thorough mixing of denser GF doughs, they can also leave larger holes. Some advanced machines, like the Breville Custom Loaf, feature collapsible paddles to minimize this issue. A tool for easy paddle removal after baking is also beneficial.
- Durability and Pan Material: Look for a machine with sturdy construction and a non-stick or ceramic-lined bread pan for easy release and cleaning.
Essential Ingredients for Gluten-Free Bread Machine Success
While the bread maker handles the mechanics, the quality of your ingredients is paramount to delicious gluten-free bread. Understanding these staples is key:
- High-Quality Gluten-Free Flour Blends: This is your foundation. Many pre-made gluten-free bread flour blends are available and designed to mimic the properties of wheat flour. Look for blends containing a mix of rice flour, tapioca starch, and other alternative flours. Brands like Bob’s Red Mill 1-to-1 or gfJules mixes are often recommended.
- Xanthan Gum: Crucial for gluten-free baking, xanthan gum acts as a binder, providing structure and elasticity that gluten would normally offer. Most GF blends include it, but some recipes may require a little extra.
- Yeast: Active dry or instant yeast is essential for leavening. Ensure your yeast is fresh for optimal rise.
- Liquids: Water, milk (dairy or non-dairy), and often a touch of apple cider vinegar are used. The vinegar helps activate yeast and tenderize the dough. Ensure liquids are at room temperature for best results.
- Eggs: Eggs contribute to structure, moisture, and richness. Large eggs are commonly used.
- Sweeteners: A small amount of sugar or honey feeds the yeast and helps with crust browning.
- Fats: Oil (vegetable, olive) or butter adds moisture and tenderness, preventing a dry, crumbly loaf.
- Salt: Essential for flavor development and regulating yeast activity.
Mastering Your Gluten-Free Bread Maker: A Step-by-Step Guide
Baking gluten-free bread in a bread maker is remarkably simple, but a few specific techniques ensure consistent success.
Step 1: Gather and Prepare Your Ingredients
Ensure all ingredients, especially liquids and eggs, are at room temperature. This promotes optimal yeast activation and dough consistency. Attach the kneading paddle(s) firmly inside the bread machine pan.
Step 2: Add Ingredients in the Correct Order
This is crucial for gluten-free bread. Always add liquid ingredients first (water, milk, oil, vinegar, eggs) to the bread pan. Then, carefully spoon the dry ingredients (flour blend, xanthan gum, sugar, salt) on top in a flat, even layer. Finally, create a small well in the center of the dry ingredients and add the yeast, ensuring it doesn’t touch the liquid below. This prevents premature yeast activation.
Step 3: Select the Right Setting
Place the bread pan securely in your machine and close the lid. If your machine has a dedicated “Gluten-Free” cycle, select it. If not, opt for a “Basic,” “Rapid Rise,” “Homemade,” or “One Rise” setting. Avoid settings with multiple punch-downs, as these can deflate gluten-free dough. Choose your desired crust color (light, medium, or dark).
Step 4: Monitor and Assist During Mixing
Start the machine. During the initial mixing phase (typically the first 5-10 minutes), use a rubber spatula to gently scrape down any dry ingredients stuck to the sides of the pan. This ensures all components are fully incorporated into the batter-like dough.
Step 5: The Importance of Internal Temperature
Once the baking cycle is complete, carefully remove the bread pan. Use an instant-read thermometer to check the internal temperature of the loaf. Gluten-free bread should reach at least 205°F (96°C) in the center to be fully cooked. If it’s not quite there, you can place the loaf (out of the pan) directly on a wire rack in a preheated oven at 350°F (175°C) for another 5-10 minutes, checking frequently.
Step 6: Cool for Perfection
This step is non-negotiable for gluten-free bread. Remove the loaf from the pan immediately and place it on a wire rack to cool completely. Ideally, let it cool for at least 1 to 2 hours before slicing. Cutting warm gluten-free bread can result in a gummy texture and releases steam that can lead to dryness. Once cool, remove any stuck kneading paddles.
Tips & Tricks for Elevated Gluten-Free Baking
Even with the best gluten free bread maker, a few expert tips can elevate your homemade loaves from good to truly exceptional:
- Experiment with Flour Blends: Don’t be afraid to try different gluten-free flour blends. Some are better for a softer sandwich bread, while others might yield a chewier texture perfect for toast. Keep notes on what works best for your machine and palate.
- Add Flavor Boosters: Transform a basic loaf by incorporating herbs (rosemary, thyme), spices (cinnamon, nutmeg), seeds (chia, flax, sunflower), or dried fruits (raisins, cranberries). Add these with the dry ingredients, or use an automatic dispenser if your machine has one.
- Solve Common Issues:
- Dense Bread: Ensure your yeast is fresh, ingredients are at room temperature, and you’re not using a setting with excessive kneading or punch-downs. A little extra liquid might also help.
- Large Holes: This often happens when kneading paddles are left in during baking. While some paddles are removable during a “rest” cycle, many bakers simply accept the small hole or carefully remove the paddle before the final rise if their machine allows.
- Gummy Texture: Almost always a sign of insufficient cooling. Be patient!
- Dairy-Free and Egg-Free Adaptations: Many gluten-free recipes can be adapted. For dairy-free, use plant-based milks and oils. For egg-free, use egg replacers or flax eggs, noting that this may affect the final texture.
Beyond the Loaf: Enjoying Your Homemade Gluten-Free Creations
The best part about baking with a gluten free bread maker is enjoying the fruits of your labor!
- Serving Suggestions: Slice your fresh loaf for sandwiches piled high with your favorite fillings, or toast it to perfection for breakfast with butter and jam. Leftovers can be transformed into croutons for salads, breadcrumbs for coating, or even French toast for a weekend brunch.
- Storage Tips for Freshness: Gluten-free bread tends to dry out faster than its gluten-containing counterparts. Store cooled bread in an airtight container at room temperature for 2-3 days. For longer storage, slice the loaf and freeze individual slices or halves in freezer-safe bags. You can then toast slices directly from frozen.
Frequently Asked Questions (FAQs)
Q: Can I use a regular bread maker for gluten-free bread?
A: Yes, many standard bread makers can be used for gluten-free bread, especially if they have a “homemade” or custom cycle that allows you to adjust kneading and rising times. However, for those with celiac disease, using a machine exclusively for gluten-free baking is crucial to prevent cross-contamination.
Q: Why does my gluten-free bread machine bread sink in the middle?
A: Several factors can cause this, including too much yeast, too much liquid, or not enough flour. Over-rising can also lead to collapse. Ensure your measurements are precise and your yeast is fresh.
Q: How long does homemade gluten-free bread stay fresh?
A: Homemade gluten-free bread typically stays fresh at room temperature for 2-3 days in an airtight container. For longer storage, it’s best to slice and freeze it, toasting slices as needed.
Q: What’s the ideal internal temperature for fully baked gluten-free bread?
A: Gluten-free bread is fully baked when an instant-read thermometer inserted into the center of the loaf reads at least 205°F (96°C).
Q: Is it cheaper to make gluten-free bread at home than to buy it?
A: Yes, in the long run, it is often more cost-effective to make your own gluten-free bread at home, especially when compared to the premium prices of high-quality store-bought gluten-free loaves.
Embrace the Joy of Homemade Gluten-Free Bread
The journey to consistently delicious, homemade gluten-free bread is an incredibly rewarding one, made significantly easier with the help of a gluten free bread maker. It’s an investment in your health, your peace of mind, and the simple joy of sharing warm, fragrant bread with loved ones. Don’t be afraid to experiment with different recipes, flour blends, and additions. With a little practice and the right machine, you’ll soon be baking loaves that not only satisfy your dietary needs but also delight your taste buds. Welcome back to the wonderful world of fresh bread!