There’s something truly magical about the aroma of freshly baked bread wafting through your home. For many, the thought of achieving this homemade delight often conjures images of lengthy kneading, precise proofing, and meticulous baking. But what if we told you that consistently perfect loaves are just a button-push away? Enter the Electric Bread Maker, a clever kitchen appliance that has transformed home baking, making it accessible, enjoyable, and surprisingly effortless for everyone. This guide will walk you through everything you need to know about these fantastic machines, from their evolution to baking your first masterpiece.
The Evolution of the Electric Bread Maker
The concept of automated bread making isn’t new, but the electric bread maker as we know it today truly took off in popularity in the 1990s, offering a revolutionary shortcut to homemade bread. Initially, these machines were seen as a novelty, yet their convenience and ability to produce consistent results quickly cemented their place in kitchens worldwide. Fast forward to recent years, and we’ve seen a significant resurgence in their popularity, with some manufacturers even experiencing shortages in 2020 as more people discovered the joys of baking from scratch at home. What started as a simple device has evolved into a sophisticated appliance, bringing the warmth and comfort of a bakery into our very own homes.
Decoding Your Electric Bread Maker: Types and Key Features
Electric bread makers come in various shapes and sizes, each designed to cater to different baking needs and preferences. Understanding their key features is essential to choosing the right one and maximizing its potential.
Loaf Sizes and Capacities
Most bread makers can produce loaves ranging from 1 to 2.5 pounds, with common options including 1-pound, 1.5-pound, and 2-pound sizes. Some advanced models, like the Breville Custom Loaf, even offer a 2.5-pound option, while compact mini breadmakers cater to smaller households with 1-pound loaves. This flexibility allows you to bake just enough for a few days or a larger loaf for entertaining.
Kneading Paddle Designs
One significant distinction lies in the kneading paddles. Many machines feature a single paddle, which works well for standard loaves. However, models like the Zojirushi Home Bakery Virtuoso Plus often boast dual paddles. This design helps ensure more thorough and even kneading, especially for rectangular loaves, contributing to a consistently textured crumb.
Special Features and Program Settings
Modern electric bread makers are packed with features that enhance the baking experience:
- Automatic Dispensers: Some premium models include a built-in dispenser for nuts, seeds, dried fruits, or chocolate chips. These clever additions release ingredients at the optimal kneading stage, preventing them from being over-mixed or crushed.
- Convection Fans: Found in machines like certain Cuisinart models, convection fans circulate hot air during baking. This helps create an evenly browned and wonderfully defined crust.
- Crust Settings: Almost all bread makers offer customizable crust settings, typically light, medium, or dark, allowing you to achieve your preferred level of crispness.
- Versatile Program Settings: Beyond basic white and whole wheat, bread makers offer a wide array of specialized cycles:
- Gluten-Free: Essential for those with dietary restrictions, often requiring specific ingredient ratios and baking times.
- French/Artisan Dough: For lighter, crustier breads.
- Rapid Bake: For when you need a loaf in a hurry.
- Dough Cycle: This allows the machine to mix and knead, but stops before baking, perfect for preparing dough for pizza, cinnamon rolls, or shaped artisan breads you prefer to bake in a conventional oven.
- Sweet Breads/Cakes, Jam, and even Yogurt: Showcasing the machine’s incredible versatility beyond traditional loaves.
These features transform the electric bread maker from a simple appliance into a multifunctional kitchen assistant.
Essential Ingredients and Tools for Bread Machine Baking
While an electric bread maker simplifies the process, using the right ingredients and a few basic tools is key to successful baking. Think of it as a science experiment where precision yields delicious results.
Core Ingredients
- Flour: The foundation of your bread.
- Bread Flour: High in protein, it develops strong gluten for a chewier texture and better rise.
- All-Purpose Flour: Can be used, but may result in a slightly less chewy or dense loaf; adjustments to liquid might be necessary.
- Whole Wheat/Rye Flour: Provides a heartier, denser loaf, often requiring more yeast or liquid due to its structure.
- Gluten-Free Flour Blends: Specifically designed for gluten-free baking, these usually contain a mix of flours and starches.
- Yeast: The leavening agent that makes your bread rise.
- Active Dry Yeast: Requires activation in warm liquid.
- Instant Yeast/Bread Machine Yeast: Can be added directly with dry ingredients and often works faster. Always check the expiration date; fresh yeast is crucial for a good rise.
- Liquids: Water, milk, or buttermilk are common. The temperature is critical: warm enough to activate yeast (around 105-110°F), but not so hot that it kills it.
- Fats: Butter, oil, or eggs add richness, tenderness, and help with crust development and preservation.
- Sweeteners: Sugar, honey, or molasses not only add flavor but also feed the yeast, aiding in the rising process.
- Salt: Essential for flavor and controlling yeast activity.
Basic Tools
- Measuring Cups and Spoons: Accuracy is paramount. For flour, always aerate it by whisking before spooning it into the measuring cup and leveling off with a straight edge. Dipping the cup directly into the bag can pack too much flour, leading to a dense loaf.
- Rubber Spatula: Useful for scraping down ingredients or assisting with dough removal.
- Wire Cooling Rack: Crucial for cooling your freshly baked bread evenly, preventing a soggy bottom.
Dr. Elias Thorne, a renowned Culinary Engineer and Home Baking Enthusiast, emphasizes, “Successful bread machine baking hinges on understanding your ingredients. Don’t underestimate the impact of fresh yeast and precise measurements; they’re the silent heroes behind every perfect loaf.”
A Step-by-Step Journey: How to Use Your Electric Bread Maker
Making bread with an electric bread maker is incredibly straightforward, often just involving six simple steps.
- Read Your Manual First: While most bread makers operate similarly, each model has unique components, settings, and sometimes specific ingredient layering recommendations. Your manual is your best friend for troubleshooting, cleaning, and safety information.
- Choose Your Recipe and Gather Ingredients: Decide what type of bread you want to make. Ensure you have all ingredients at hand and that they are fresh, especially the yeast. Double-check that your chosen recipe’s loaf size is appropriate for your machine.
- Load the Ingredients Correctly: This is where precision matters. Most recipes recommend adding liquid ingredients first, followed by fats (like oil or softened butter). Next, add your dry ingredients like flour, sugar, and salt. Finally, create a small well in the center of the flour and add the yeast there, ensuring it doesn’t come into direct contact with liquids or salt initially. This prevents premature activation or inhibition of the yeast. If your recipe calls for fruit, nuts, or chocolate chips, some machines have special dispensers that release them at the optimal time during the kneading cycle to prevent breakage.
- Select the Right Setting: Plug in your machine and choose the appropriate program setting for your bread type (e.g., “Basic,” “Whole Wheat,” “Gluten-Free,” “Dough”). Also, select your desired crust color (light, medium, or dark).
- Start the Bread Maker: Press the “Start” button and let the machine work its magic. It will automatically mix, knead, proof (allow the dough to rise), and bake your bread. During the initial kneading, you might want to observe the dough’s consistency. If it looks too wet and sticky, add a tablespoon of flour; if too dry, add a tablespoon of water, one at a time, until it forms a soft, pliable ball.
- Enjoy Your Homemade Bread: Once the cycle is complete, carefully remove the bread pan (using oven mitts as it will be hot). Turn the pan upside down and gently shake to release the loaf. Place the freshly baked bread on a wire rack to cool completely before slicing. This cooling step is crucial, as slicing hot bread can lead to a gummy texture.
Beyond Basic Loaves: Tips, Tricks, and Creative Recipes
Your electric bread maker is capable of much more than just a simple sandwich loaf. With a little experimentation, you can unlock a world of baking possibilities.
Troubleshooting Common Issues
- Dense Bread: Often caused by too much flour (improper measurement), old/inactive yeast, or insufficient liquid. Always aerate and spoon flour into your measuring cup.
- Collapsed Loaf: Can be due to too much liquid, too much yeast, or baking at too high an altitude.
- Paddle Stuck in Loaf: A common occurrence. Carefully remove it once the bread has cooled, or consider models with collapsible paddles.
Customizing Your Creations
- Flavorful Add-ins: Get creative with nuts (walnuts, pecans), seeds (sunflower, poppy, chia), dried fruits (raisins, cranberries), herbs (rosemary, thyme), or cheese. Add them when prompted by your machine or during the last kneading cycle if using a manual dispenser.
- Sweet Variations: Experiment with cinnamon swirl bread, chocolate chip bread, or banana bread (using the quick bread setting).
- Savory Options: Sun-dried tomato and basil, olive bread, or cheesy garlic bread can transform a simple meal.
Using the Dough Cycle for Artisan Results
Many experienced bakers use their electric bread maker primarily for its dough cycle. The machine perfectly mixes and kneads the dough, then lets it rise. Once the cycle finishes, you can remove the dough, shape it into baguettes, rolls, pizza crusts, or artisan loaves, and then bake them in your conventional oven. This gives you the best of both worlds: automated kneading and manual shaping for a truly personalized touch.
Non-Bread Delights
Don’t limit your bread maker to just bread! Many models have settings for:
- Jams and Compotes: The stirring and heating functions are ideal for fruit preserves.
- Cakes: Some recipes are specifically designed for the sweet bread or cake cycle.
- Pasta Dough: The kneading function makes quick work of preparing dough for homemade pasta.
- Even Meatloaf! Some adventurous cooks use their bread maker for savory dishes, utilizing its controlled heating.
The Sweet Rewards: Benefits of Owning an Electric Bread Maker
Investing in an electric bread maker brings a multitude of benefits that extend far beyond simply having fresh bread.
Convenience and Time-Saving
The primary advantage is unparalleled convenience. You simply add ingredients, press a button, and return hours later to a freshly baked loaf. This eliminates the hands-on time of kneading, multiple rises, and constant supervision, making homemade bread accessible even on busy weekdays. As Dr. Elias Thorne notes, “An electric bread maker gives you the gift of time. It empowers you to enjoy the luxury of homemade bread without the traditional demands of a baker’s schedule.”
Healthier Homemade Options
When you bake your own bread, you have complete control over the ingredients. This means no artificial preservatives, unhealthy trans fats, or excessive sugars found in many store-bought loaves. You can tailor recipes to specific dietary needs, such as low-sodium, sugar-free, or gluten-free bread, ensuring your family eats healthier.
Cost-Effectiveness
While there’s an initial investment in the machine, making your own bread is significantly cheaper in the long run than regularly buying artisanal or specialty loaves from the store. The cost per loaf can be considerably less, making it a smart financial choice for bread lovers.
A Delightful Sensory Experience
The smell of baking bread is universally comforting and inviting. An electric bread maker fills your home with this wonderful aroma, creating a warm and welcoming atmosphere. It’s a simple pleasure that enhances your living space.
Less Mess and More Efficiency
Compared to traditional bread making, which can involve flour-dusted countertops and multiple bowls, the bread maker keeps everything contained in one appliance, significantly reducing cleanup. Furthermore, using a bread maker can save electricity compared to heating a large conventional oven for a single loaf. It also keeps your kitchen cooler during warmer months, as it’s a self-contained unit that doesn’t radiate as much heat.
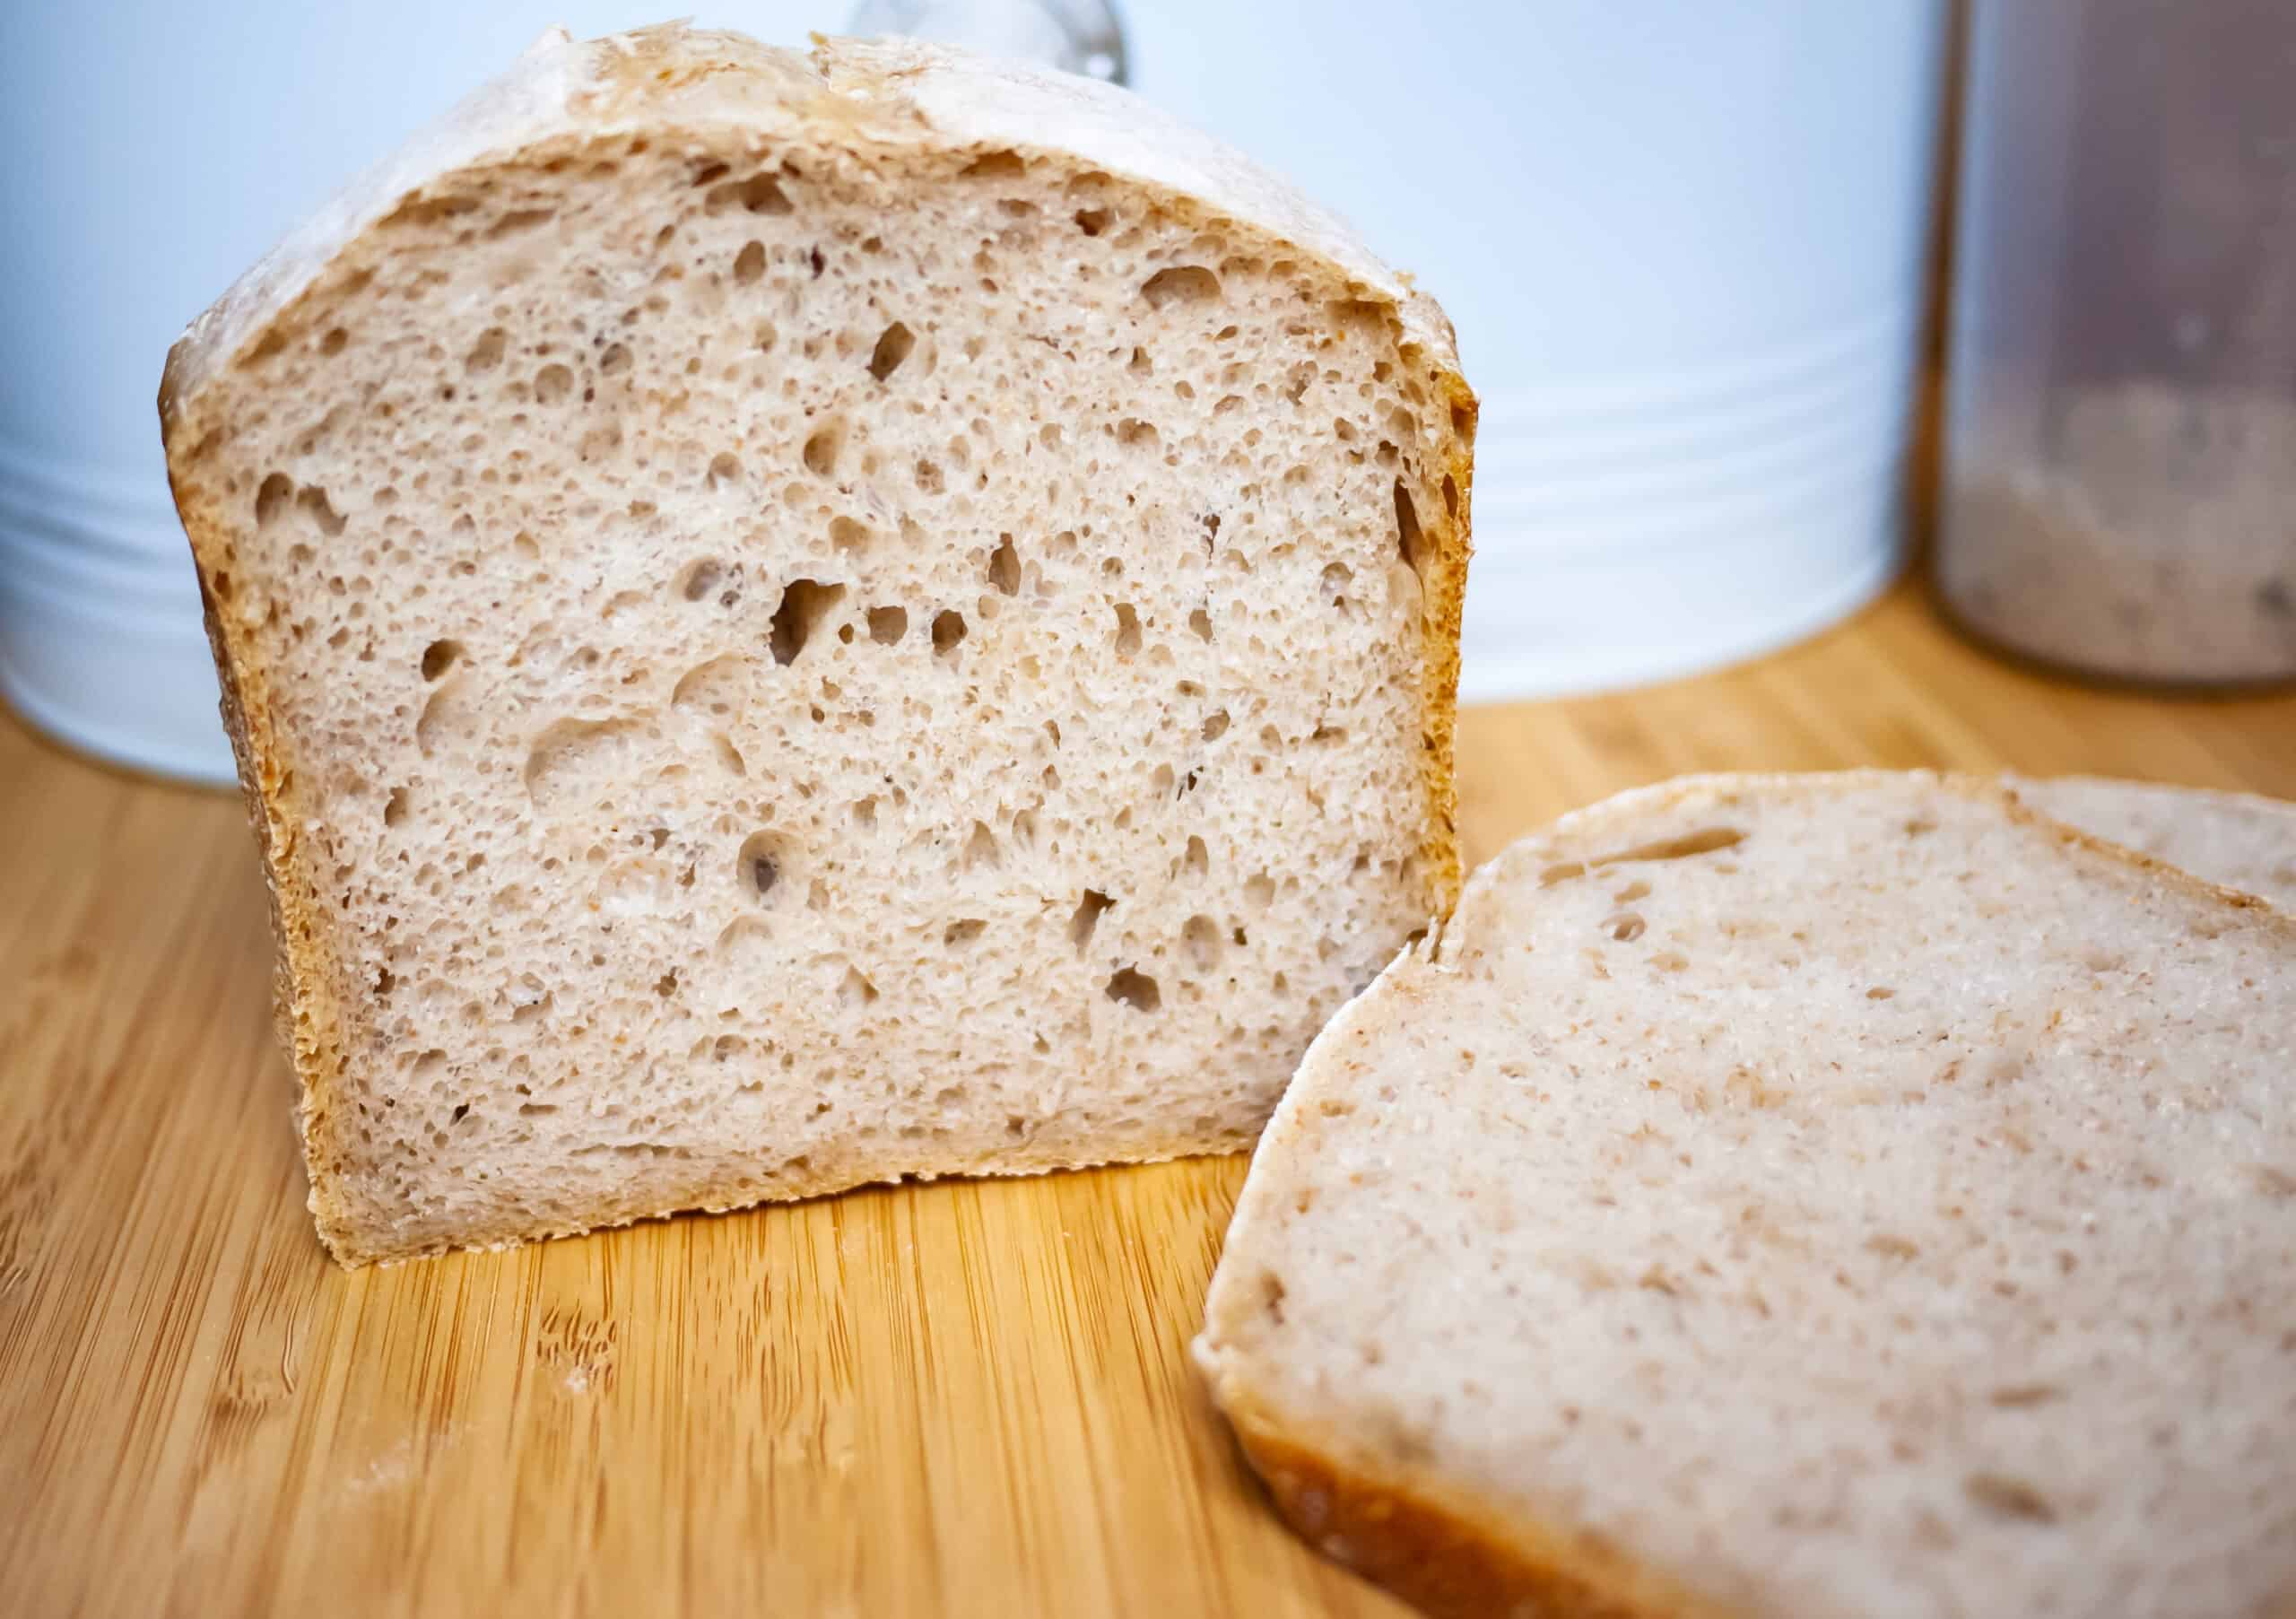
Enjoying Your Homemade Masterpiece
Once your electric bread maker has finished its work, the real fun begins: enjoying your delicious creation. Always remember to let your bread cool completely on a wire rack before slicing. This allows the internal structure to set, resulting in a perfectly textured crumb.
Serving Suggestions
- Simple Slices: Enjoy with butter, jam, or your favorite spread.
- Sandwiches: Elevate your lunch with truly fresh bread.
- Toast: A classic for breakfast or a quick snack.
- Accompaniment: Serve alongside soups, stews, or salads.
- Croutons: Leftover bread makes incredible homemade croutons.
Storage Tips
Homemade bread typically doesn’t contain preservatives, so it’s best enjoyed fresh. Store it at room temperature in an airtight container or bread box for 2-3 days. For longer storage, slice the cooled loaf and freeze it. You can then toast slices directly from the freezer, enjoying fresh bread whenever you desire.
Frequently Asked Questions (FAQ)
Is an electric bread maker worth it?
Absolutely! If you love fresh bread but lack the time or desire for extensive manual baking, an electric bread maker is a fantastic investment. It offers convenience, cost savings, healthier options, and fills your home with wonderful aromas.
What’s the best way to measure flour for a bread machine?
Always aerate your flour by whisking it in its container, then spoon it lightly into your measuring cup, and level it off with a straight edge. Avoid scooping directly from the bag, as this can compact the flour and lead to an overly dense loaf.
Can I make gluten-free bread in a bread machine?
Yes, many modern electric bread makers include a dedicated gluten-free setting. You’ll need to use specific gluten-free flour blends and recipes tailored for these machines to achieve the best results.
How do I clean my bread maker?
Always consult your manual for specific cleaning instructions. Generally, the bread pan and kneading paddle(s) are non-stick and can be hand-washed with warm, soapy water. Some pans might be dishwasher-safe, but hand-washing often preserves the non-stick coating longer. Wipe down the interior and exterior of the machine with a damp cloth.
What ingredients should I avoid putting first in my bread maker?
Generally, you should add liquids first, then dry ingredients, and finally yeast. It’s important to keep the yeast separated from liquids and salt until the mixing cycle begins to ensure proper activation and rise.
Conclusion
The electric bread maker is more than just a kitchen gadget; it’s a gateway to effortless homemade goodness. It demystifies the art of bread making, offering consistent results with minimal effort, countless customization options, and significant benefits for your health and wallet. Whether you’re a seasoned baker looking for convenience or a novice eager to experience the joy of fresh bread, an electric bread maker invites you to explore, experiment, and savor the simple pleasure of baking your own. So, go ahead, unlock its potential, and let the enticing aroma of homemade bread transform your kitchen into a true home bakery.