There’s a special kind of magic that fills a home with the aroma of freshly baked bread. For many, that magic once felt out of reach, confined to artisanal bakeries or the domain of experienced home bakers. But then came the bread maker – a kitchen marvel designed to bring that delightful experience to everyone. If you’re pondering which model stands out in the bustling market, diving into expert bread maker reviews, much like what you’d expect from a detailed consumer reports bread maker analysis, is your first step to choosing the perfect companion for your culinary adventures.
|
Our Picks for the Best Bread Maker in 2026
As an Amazon Associate I earn from qualifying purchases.
|
||
| Num | Product | Action |
|---|---|---|
| 1 | Amazon Basics Programmable Bread Maker, 2 Pound Non-Stick Automatic Bread Making Machine, 14 Settings for Breads, Doughs, Gluten-Free Options and More, LCD Display, White |

|
| 2 | Rosewill 25-in-1 Automatic Bread Maker Machine with 3 Loaf Size up to 2 Lb, 700W High Power Dual Heater Bread Maker with BPA-free Nonstick Coating Pan, Max 15 Hours Delay Timer, Low Noise - Gray |
|
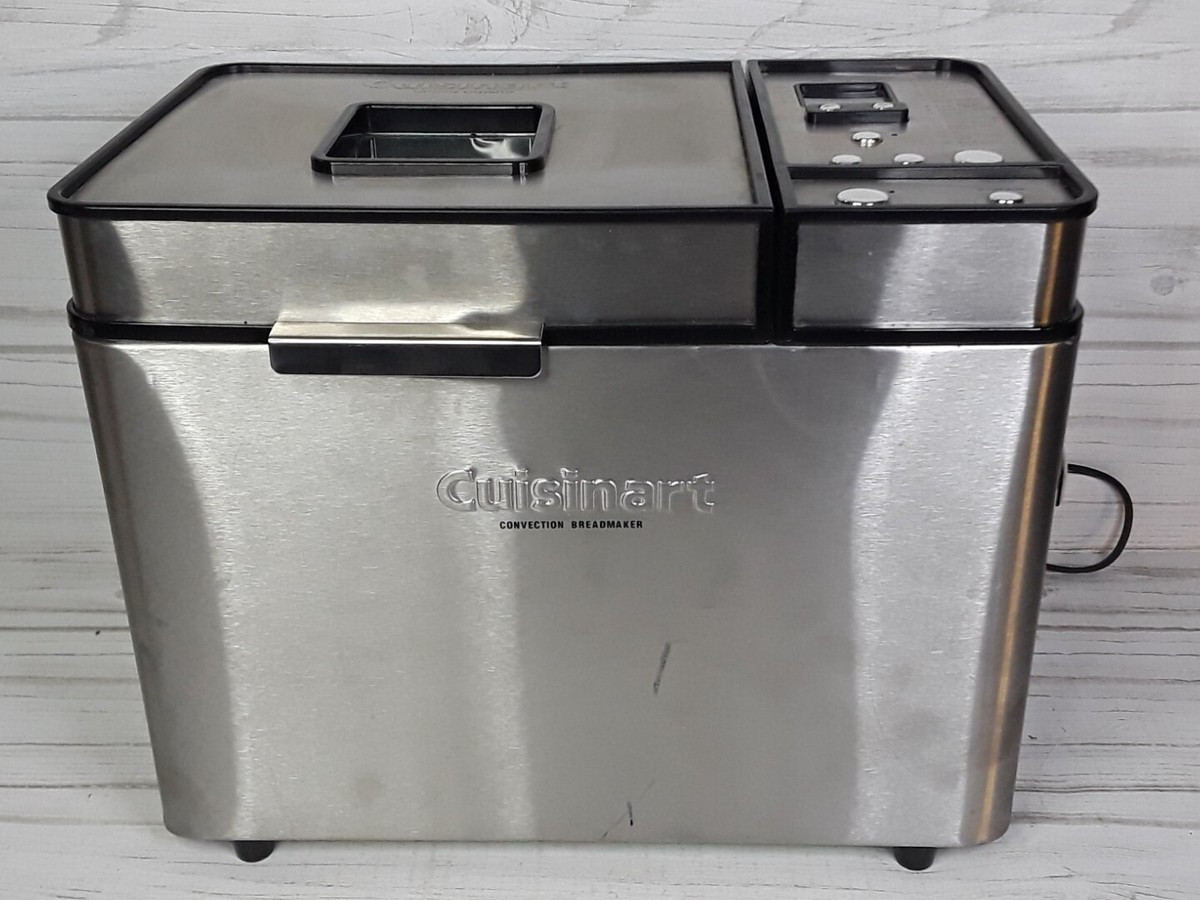
| 3 | Cuisinart Bread Maker Machine, Stainless Steel Convection Bread Machine with 16 Menu Options, 3 Loaf Sizes Up to 2 Lb., 3 Crust Colors, Includes Measuring Cup, Spoon & Kneading Hook, CBK-210 |
|
| 4 | KBS Pro 710W Bread Maker, 2LB 17-in-1 Automatic Bread Machine with Healthy Ceramic Pan, Nut Dispenser, Tempered Glass Touch Panel, Stainless Steel Housing,3 Crust Colors, 15H Timer&Keep-Warm, Recipe |
|
| 5 | Elite Gourmet EBM8103M Programmable Bread Maker Machine 3 Loaf Sizes, 19 Menu Functions Gluten Free White Wheat Rye French and more, 2 Lbs, Mint |
|
| 6 | Elite Gourmet EBM8103B Programmable Bread Maker Machine 3 Loaf Sizes, 19 Menu Functions Gluten Free White Wheat Rye French and more, 2 Lbs, Black |
|
| 7 | Neretva Bread Maker, 20-IN-1 2LB Bread Machine Dual Heater Bread Maker Machine Automatic with Nonstick Ceramic Pan, 15H Timer & 1H Keep Warm Set, Low Noise, Stainless Steel Breadmaker Recipe-Green |
|
| 8 | KITCHENARM 29-in-1 SMART Bread Machine with Gluten Free Setting 2LB 1.5LB 1LB Bread Maker Machine with Homemade Cycle - Stainless Steel Breadmaker with Recipes Whole Wheat Bread Making Machine |
|
| 9 | Cuisinart Bread Maker Machine, Stainless Steel Automatic Bread Machine with 12 Menu Options, 3 Loaf Sizes up to 2 Lb., 3 Crust Colors, Removable Nonstick Baking Pan & Kneading Paddle, CBK-110NAS |
|
| 10 | 2LB Bread Maker Machine, OSIPOTO 17 in 1 Automatic Stainless Steel Bread Machine, Non-stick, Beginner-Friendly Controls, 15 Hour Timer, Easy to Clean Low Noise, High Success Rate for Homemade Bread |
|
The Enduring Appeal and Evolution of the Bread Maker
The journey of the bread maker began decades ago, promising convenience and consistency. Early models were often bulky and produced loaves with pale crusts and somewhat unusual shapes, leading to a “bread machine bread” stereotype. However, like all technology, bread makers have evolved dramatically. Today’s machines boast advanced features, intuitive controls, and the ability to produce loaves that rival those from professional ovens. They’ve transitioned from a niche appliance to a mainstream kitchen staple, thanks to innovations in mixing, baking, and programming.
Choosing the right bread maker is paramount to your baking success. It’s not just about mixing ingredients; it’s about achieving the perfect rise, an even bake, and a delicious texture.
Choosing Your Ideal Bread Maker: Key Types and Features
When you’re sifting through expert bread maker recommendations, several factors come into play. Understanding the nuances of different models and their features will help you identify the best fit for your kitchen and baking aspirations.
Loaf Size and Shape
Bread makers typically offer options for 1-pound, 1.5-pound, or 2-pound loaves. Some machines are designed to produce traditional horizontal loaves, which fit neatly into toasters and make ideal sandwiches. Other, often more compact, models yield vertical, “tree-stump” shaped loaves. Consider your family size and how you plan to use the bread when making your choice.
Kneading Performance
The heart of good bread is well-kneaded dough. Many standard bread makers use a single paddle, which can sometimes leave unmixed flour in the corners of the pan. Premium models, like the Zojirushi Home Bakery Virtuoso Plus, often feature dual kneading paddles strategically placed to ensure a thorough, even mix, resulting in stronger, more elastic dough and a superior crumb structure. Machines with robust motors also handle denser doughs, like whole wheat, with greater efficiency.
Baking Quality: Crust, Crumb, and Evenness
A key differentiator among bread makers is their baking capability. Basic models often rely on a single heating element at the base, which can lead to uneven browning, a pale top crust, and a less-than-perfect dome. High-end machines combat this with secondary heating elements, often located in the lid. This innovation circulates heat more effectively throughout the baking chamber, guaranteeing an evenly browned crust and a consistent, attractive crumb every time.
Programmable Settings and Customization
Modern bread makers come loaded with a variety of pre-programmed cycles:
- Basic White Bread: The go-to for everyday loaves.
- Whole Wheat: Optimized for heavier, denser whole grain flours.
- Gluten-Free: Special cycles for gluten-free recipes, which require different kneading and rising times.
- Dough-Only: Perfect for preparing pizza dough, rolls, or bagels that you want to shape and bake in a conventional oven.
- Rapid Bake: For when you need a loaf in a hurry.
- Specialty Settings: Jams, cakes, pasta dough, and even yogurt.
Beyond presets, some advanced models offer customizable settings, allowing you to fine-tune kneading, rising, and baking times to suit unique recipes or personal preferences. This level of control is invaluable for experienced bakers or those experimenting with sourdough starters.
Ease of Use and Cleaning
An intuitive control panel with a clear display can make all the difference in your daily baking routine. Look for machines with straightforward programming. Cleaning is another practical consideration. Most bread makers come with non-stick pans that facilitate easy removal of loaves. However, check if the pan and paddles are dishwasher safe, or if handwashing is required. Some non-stick coatings are more durable than others, resisting chips and scratches over time.
Noise Level
While kneading, some bread makers can be quite noisy. If your kitchen is open-plan or you prefer a quieter environment, look for models that are specifically noted for their quiet operation, like the Zojirushi Home Bakery Mini.
Essential Ingredients and Tools for Bread Machine Baking
Embarking on your bread maker journey requires a few fundamental ingredients and tools to ensure consistent success.
- Flour: All-purpose, bread flour (higher protein for better structure), whole wheat, rye, or gluten-free blends.
- Yeast: Active dry, instant, or bread machine yeast. Ensure it’s fresh for optimal rise.
- Liquids: Water, milk, buttermilk, or dairy-free alternatives.
- Sweeteners: Sugar, honey, maple syrup (feeds the yeast).
- Fats: Butter, oil, or shortening (adds flavor and tenderness).
- Salt: Essential for flavor and controlling yeast activity.
For tools, accurate measuring cups and spoons are critical. A rubber spatula can be helpful to scrape down sides if any flour gets stuck during initial mixing, though with efficient dual-paddle machines, this is rarely needed.
Mastering Your Bread Maker: A Step-by-Step Guide
Making bread with a machine is delightfully simple. Here’s the general process:
- Add Liquids First: Pour all liquid ingredients into the bread pan.
- Add Dry Ingredients: Layer dry ingredients, starting with flour, then sugar, salt, and any milk powder or spices.
- Create a Yeast Well: Make a small indentation in the center of the flour (away from liquids and salt) and add your yeast.
- Select Cycle: Place the pan in the machine, close the lid, and select your desired program (e.g., Basic, Whole Wheat, Gluten-Free).
- Start and Wait: Press start. The machine will handle mixing, kneading, rising, and baking.
- Cool and Enjoy: Once the cycle is complete, carefully remove the hot pan. Invert the loaf onto a wire rack to cool completely before slicing. This prevents a gummy texture.
Beyond Basic Loaves: Tips and Creative Recipes
Your bread maker is a versatile tool far beyond just white sandwich bread.
- Gluten-Free Baking: Use dedicated gluten-free flour mixes and follow recipes tailored for bread machines. The specialized gluten-free cycle on many machines is designed for these unique doughs.
- Dough-Only Wonders: Use the dough cycle for homemade pizza crust, cinnamon rolls, dinner rolls, or even pasta dough. Simply remove the dough after the cycle, shape, and bake traditionally.
- Jams and Compotes: Many bread makers have a “jam” setting. The constant stirring helps thicken fruit into delicious preserves.
- Flavor Boosts: Incorporate nuts, seeds, dried fruits, cheese, or herbs during the mix-in signal (usually an audible beep) to create artisanal loaves.
“A great bread maker isn’t just about baking convenience; it’s about unlocking a whole new world of culinary creativity in your own kitchen,” says culinary expert, Alice Chen. “From the everyday sandwich loaf to sophisticated artisan breads and sweet treats, the right machine empowers you to explore.”
The Rewarding Benefits of Homemade Bread
The benefits of owning a bread maker and baking your own bread are plentiful:
- Unmatched Freshness: Enjoy warm, aromatic bread straight from the machine.
- Control Over Ingredients: Choose organic flours, reduce sugar, skip preservatives, and avoid common allergens.
- Cost-Effectiveness: Making bread at home can be significantly cheaper than buying artisanal loaves.
- Customization: Experiment with different flours, add-ins, and flavors to create your perfect loaf.
- A Therapeutic Experience: The simple process and the comforting aroma can be a wonderfully relaxing addition to your day.
Enjoying Your Homemade Masterpiece
Once your loaf has cooled, slice it with a good bread knife. It’s fantastic on its own with butter, but also elevates sandwiches, toast, or serves as a perfect accompaniment to soups and stews. Leftovers can be stored in an airtight container or bread box for a few days, or sliced and frozen for longer preservation.
Frequently Asked Questions
What is the best bread maker according to experts?
While individual preferences vary, models like the Zojirushi Home Bakery Virtuoso Plus are consistently highly rated for their superior kneading, even baking, and customizable programs, often praised in expert reviews and consumer reports bread maker comparisons. Other strong contenders include the Breville Custom Loaf and various Cuisinart models, particularly for their value and performance.
Are bread makers worth it?
Absolutely! If you enjoy fresh bread, want control over ingredients, and appreciate convenience, a bread maker is a worthwhile investment. It simplifies the bread-making process, allowing you to enjoy delicious homemade loaves with minimal effort.
Can you make gluten-free bread in a bread maker?
Yes, many modern bread makers feature a dedicated gluten-free cycle. These programs are specifically designed to handle the unique properties of gluten-free flours, which require different mixing and rising conditions to achieve the best texture and rise. Always use a recipe specifically formulated for gluten-free bread in a machine.
How do you clean a bread machine pan?
Most bread machine pans have a non-stick coating. Typically, they should be handwashed with warm, soapy water and a soft sponge to protect the coating. Avoid abrasive cleaners or metal utensils, as these can scratch the surface. Ensure the pan is thoroughly dry before storing.
What are the common mistakes to avoid?
Common mistakes include incorrect ingredient measurements, using old or inactive yeast, opening the lid during the rising or baking cycle, and not allowing the bread to cool completely before slicing. Following recipe instructions precisely and resisting the urge to peek during critical stages are key to success.
Your Journey to Homemade Bread Starts Here
The world of bread makers has truly transformed, offering unparalleled convenience without sacrificing quality. Whether you’re a novice baker looking to simplify your routine or a seasoned pro seeking consistent results, there’s a bread maker out there that perfectly aligns with your needs. By considering the features, understanding the basic process, and exploring creative recipes, you can unlock the joy and deliciousness of homemade bread, filling your home with warmth and wonderful aromas. So, go ahead, pick your machine, and let the baking begin!